Is there something more pleasant than matching a video with music perfectly?
Audiolander, your new sync music bank, brings you this quick guide to sync your video with any song or audio instantly!
This, will save you a lot of time than doing it manually. Thus, you’ll have a perfect sequence ideal to sync any visual piece with the groove of any song.
As we said, this trick is for Premiere users. Nevertheless, it’s an universal technique for every video montage software, because is based in the use of markers.
So, what is a marker in video montage?
Markers are an underrated tool that allows you to indicate important parts of your video. They’re color tabs that you can place in any part of the timeline to use it as a visual or automation tool. We will use them for the second case.

You can always add one simply pressing the M button in the position where the playback arrow is in that moment. So, now, before entering to the trick’s explanation, we need to talk about music, our speciality.
As you know, every visual piece has it’s own rythm. So, anytime that you search a song for your video you may match video’s rythm with the song’s. But, how can you measure music rythm?
There’s something that is called BPM (beats per minute). Widely used in music to measure the song’s speed easily. To find an approximated BPM, we recommend you to use a Tap BPM tool to figure it out.
There are free online tools that will help you out like this. To use them properly, as it’s name indicates, simply tap with the rythm that you imagine to get your desired BPM.
Then, you should match that rythm with the average BPM range that musical genres have.
Generally, there are musical genres that fit to different BPM ranges. For example:
After you find that perfect song in Audiolander, your brand new sync music bank, mount it at Premiere.
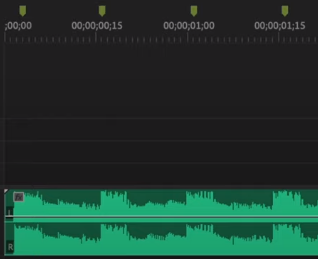
Now, everytime that you hear the song’s beat, press the M button to place your markers linked to the song’s BPM. This should look like this:

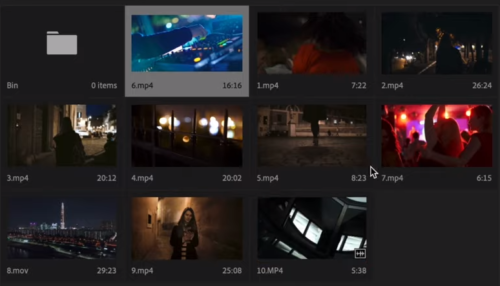
Then, upload your visual pieces to your media library in Premiere to use them later.

After that, inside that folder, you must define the order that your clips want to be shown.

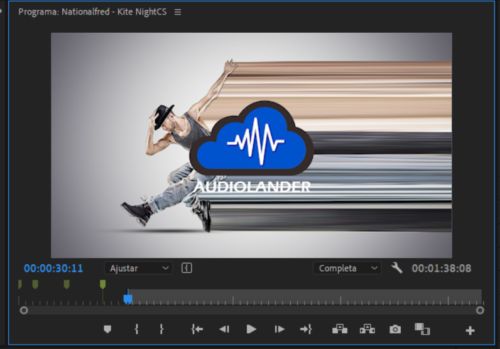
Now, we will define each video’s end point. For that, you have to click on each one, move the play marker to the start point that you want to define and press the “i” button. Like this:

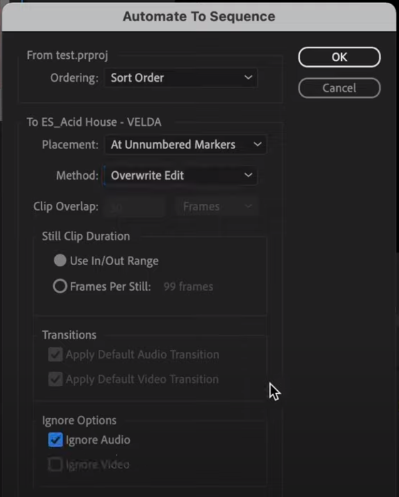
Now you must take your main grid’s playhead at the very beginning. Then select all your videos in the media library, go to Clip –> Automate to Sequence and set it like this:

Finally, press play and Voilà! You can thank us later 😎
To see the full video tutorial, enter to Tyler White’s video here.
Source: Tyler White
